Have you grown cannabis and achieved a bountiful harvest? Then you might enjoy creating various cannabis products with your weed. Previously, we wrote about how to make spacecake or cannabis tea. Looking for something stronger? Then our dab-making course is definitely worth reading. Another option is making hash – and it doesn’t have to be expensive or complicated. In this article, we’ll show you 6 ways to easily make hash at home.
In this article
Rubbing method
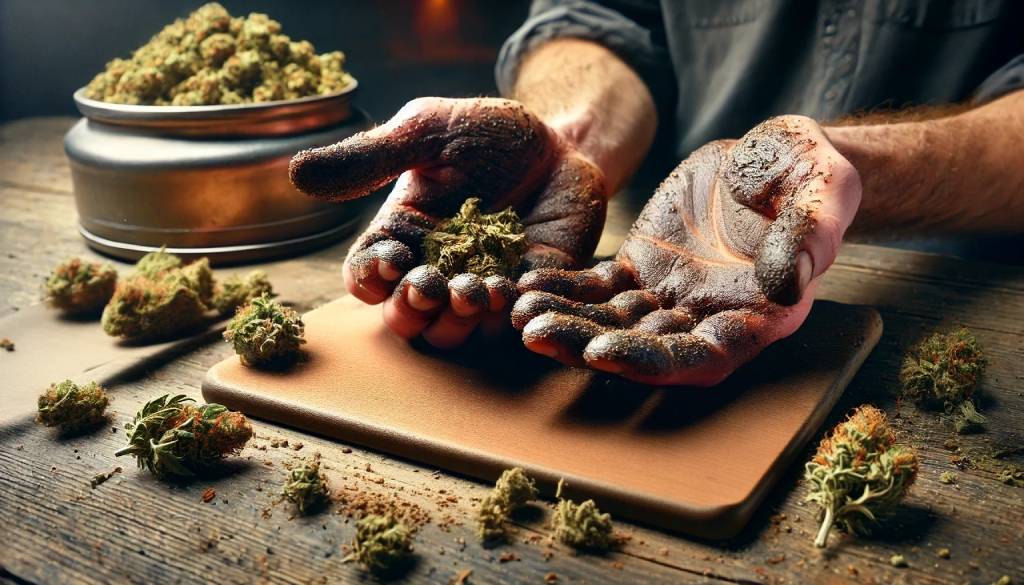
This is the simplest way to make hash. Hand-rubbed hash is also known as charas or charras. This finger hash often forms naturally while processing large amounts of cannabis, for instance, during the harvest or trimming of your cannabis plants. You can do this yourself by rubbing the weed between your hands to collect the sticky trichome residue. The best weed to make charas hash with is Master Kush, but Sour Diesel is also an excellent choice.
Pro tip: Wear latex gloves to avoid hours of cleaning and finding bits of hash under your nails for days. After rubbing, you can freeze the gloves and easily peel the hash off the next day.
Hot bottle method
Don’t want sticky hands or endless cleaning? You can also use a hash shaker. With this tool, separating the hash powder from your buds is a breeze. Place your buds in the shaker and freeze it for half an hour. Then take the shaker out of the freezer and shake vigorously. This will cause the pollen to naturally fall into the collection tray.
Note! Do not replace cellophane with plastic wrap, as hash tends to stick to it.
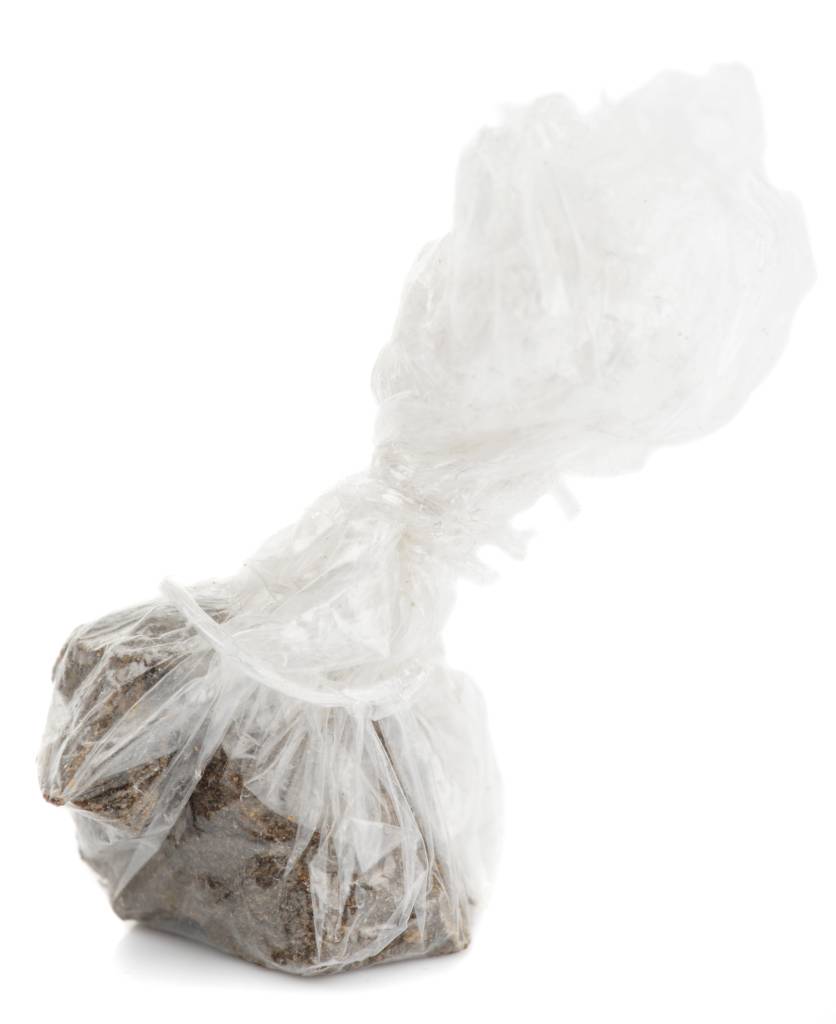
- Place your collection of pollen on a sheet of cellophane and fold it over.
- Boil water and fill a hard glass bottle, such as a wine bottle. Let the bottle cool for 5 minutes.
- Place the bottle on the foil with pollen and leave it there for about 30 seconds. You’ll see the pollen darken due to the heat.
- Roll the bottle over the pollen without pressing or applying force.
- Once you notice the pollen has melted well, flip the foil and do the same for the other side.
- Finally, roll the bottle one more time until it forms a consistent flat mass.
You can then roll it up, fold it into a block, or shape it into a ball according to your preference. We recommend storing your hash in a airtight storage jar
Shoe method
Shoe method? Yes, you read that correctly. It might not sound the most appetizing, but it’s a super simple way to make your own hash. Here’s what you’ll need: cellophane, tweezers, tape, and a pair of shoes, of course.
- Gather all your pollen and pack it tightly in cellophane. Seal the packet with tape. Make sure this packet fits into the heel of your shoe.
- Carefully poke a small hole in the pollen packet with tweezers.
- Place the packet in the heel of your shoe. Choose shoes with a hard sole. We recommend using both shoes to avoid uneven walking.
- Walk for at least 15 minutes, but preferably an hour, with the packets in your shoes.
After your walk, take the pollen out of the cellophane. Your body heat and constant pressure will have fused the pollen into two delicious slabs of hash. 
Press method
If you want to keep it simple, using a hash press is also an excellent choice for easily making hash at home. First, use a pollen sieve to separate the THC from your weed. Then place the THC or pollen into a hash press and turn the handle until it no longer moves. For the best results, leave the press for at least a day before removing the hash. Follow the product description for detailed instructions.
Bubbleator method
This method requires a small investment, but you’ll get the highest quality crystals with various options. With the Bubbleator, you can make bubble hash, ice hash, or ice-o-lator hash. This ultra-strong product can contain up to 80% THC. With this handy device, you can process up to 350 grams of plant material into pure hash in one go. The process takes less than 15 minutes and can be repeated endlessly. The Bubbleator guarantees the tastiest hash of the highest quality and potency. 
Blender method
Is a Bubbleator still too big of an investment for you? Or do you want to experiment first to see if ice hash is for you? The blender method is a cheaper alternative that allows you to make hash at home using everyday items. The idea is that the ice in the blender helps trichomes fall off the weed more quickly during mixing.
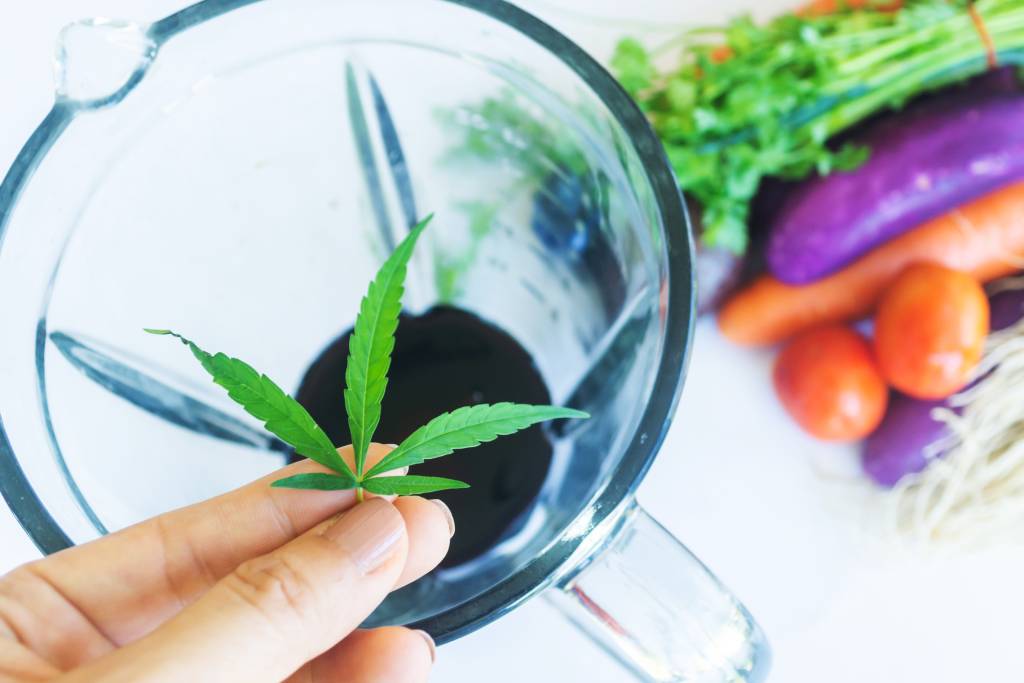
- Put all your trim or buds in a blender. Add enough cold water to fully submerge the cannabis, along with a handful of ice cubes.
- Turn the blender on for about 15 seconds (you don’t need to grind the weed finely). Wait for the plant material to settle at the bottom before proceeding to the next step.
- Use a pollen sieve or the middle section of a 4-piece grinder to separate the trichomes from the weed. Slowly pour the contents of the blender through the sieve into a wide jar or glass. Let the mixture sit for about 30 minutes to an hour; when you see THC crystals at the bottom, you know you’re on the right track.
- Pour out about ⅔ of the contents, being careful not to pour away the trichomes. Place your jar or glass in the freezer for about 10 minutes.
- Stretch a coffee filter over another glass and secure it with a rubber band. Carefully pour the contents into the coffee filter. Let it drain, then squeeze out the remaining liquid. Remove the THC crystals from the filter and let them dry completely.
Sources
- Leafly. (2024, May 9). How to make hash at home | Leafly.
- Rosenthal, E. (2023, June 27). Concentrated Cannabis: 4 Ways to Make Hash at Home — Ed Rosenthal. Ed Rosenthal.