Congratulations on your purchase of a grow tent; your mega-harvest is getting closer! But how do you actually assemble one of these? At Dutch-Headshop, we've been there and gained some experience. Here are our tips and advice for assembling your own grow tent.
How to Assemble a Grow Tent?
In the growshop at Dutch-Headshop, you can find everything you need to grow your cannabis seed into a flourishing cannabis plant. If you decide to cultivate cannabis indoors, a grow tent will be an almost indispensable component. A grow tent is a controlled environment designed to create ideal conditions for cannabis growth.
Grow tents come in various colors, shapes, sizes, and brands, much like cannabis itself. Since most grow tents have similar instructions, we provide general advice, but stay vigilant and always follow the included user manual.

Step 1: Preparation
Do you recognize that frustrating moment when you enthusiastically start a project and then quickly realize that you're missing various supplies, preventing you from proceeding? To prevent this, we've compiled a handy list of essential items:
- Enough space to set up the grow tent both upright and on its side.
- Preferably strong tape like duct tape.
- Tie wraps or rubber bands, we'll explain their use later.
- An assistant, especially for larger-sized tents; having a second pair of hands is very helpful (don't forget to reward your helpful second pair of hands ;-)).
- A clean and flat environment to avoid damaging the tent's cover.
- A power strip with at least 3 outlets.
- A timer, especially important for LED lights that can't be controlled with an app.

Step 2: The Frame and Cover
Do you have experience with tent poles? Then you're ahead of the game. The idea is simple: you build the frame of the grow tent using the poles. Follow the instructions for the grow tent. The poles are often numbered or labeled with a letter. Ensure everything is securely in place; you may need to twist the poles back and forth until they click into place.
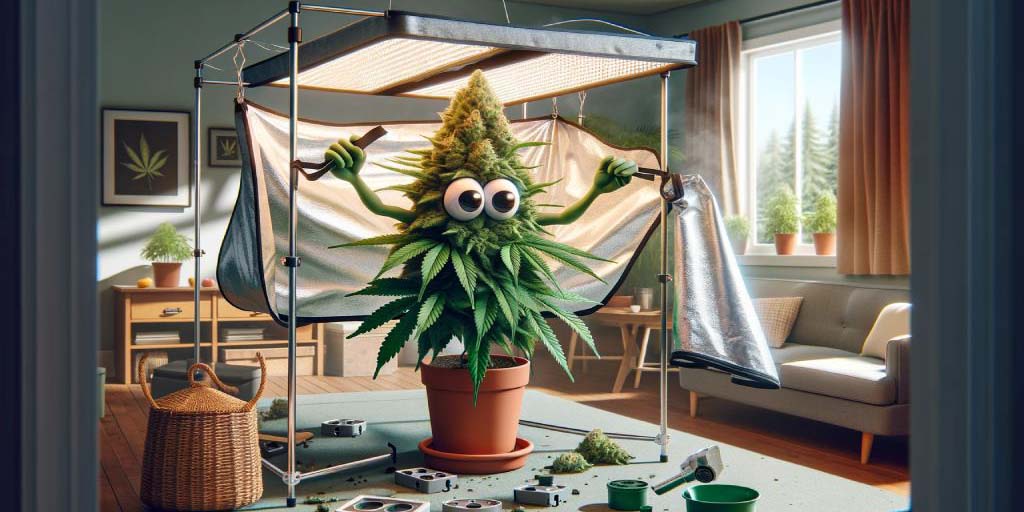
Once the frame is set up, or rather lying down, it's the best time to attach the cover. Make sure all zippers are fully unzipped. This is one of those moments where a second pair of hands comes in handy. Once the cover is attached, you can stand the tent upright again. Then you can place the drip tray at the bottom of the tent and secure it to the 4 support poles (usually with a Velcro system). Most grow tents also have a few extra poles meant for additional support to hang your lighting and ventilation. These poles are typically inserted last between the frame and the cover.
Manufacturer Mars Hydro demonstrates the process.
Step 3: Lighting, Ventilation, and Filter
In this final step, there will be the most variation based on the chosen equipment. To keep it as general as possible, we've mentioned the key points of attention that (almost) always apply. Since the drip tray is already at the bottom of the tent, and there are still some tasks to be done inside the tent, we'd like to warn you that it can be very slippery! So be careful about where you stand before you slip out of the tent with your valuable equipment.
Activated Carbon Filter
The filter is often centrally hung at the top inside the grow tent. This is because warm air rises, but also because ventilation needs to be added alongside it. The filter contains activated carbon that absorbs and neutralizes cannabis odor molecules. It's usually packaged in a metal housing with a washable cover and often weighs a few kilograms. Therefore, ensure the filter is hung securely. We recommend using an additional strap besides the mounting brackets. Seek assistance when hanging the filter and ventilation if needed.
When choosing filters and ventilation, it's important to pay attention to the fitting size. For example, with a 4-inch or 10-centimeter filter, it's essential that the ventilation has the same size.
Ventilation
The ventilation is also hung at the top of the grow tent next to the activated carbon filter, pointing toward one of the port housings (those round holes on the side). Just like the filter, ventilation often weighs a few kilograms, so ask for assistance as needed. It's also important to provide adequate support, potentially by adding an extra strap. One end of the ventilation has arrows; this side is where the extraction hose should be attached. The other end is meant to be connected to the activated carbon filter. In principle, these are designed to fit snugly together. However, we recommend placing a layer of duct tape over the connection to prevent any potential cannabis odor from escaping.
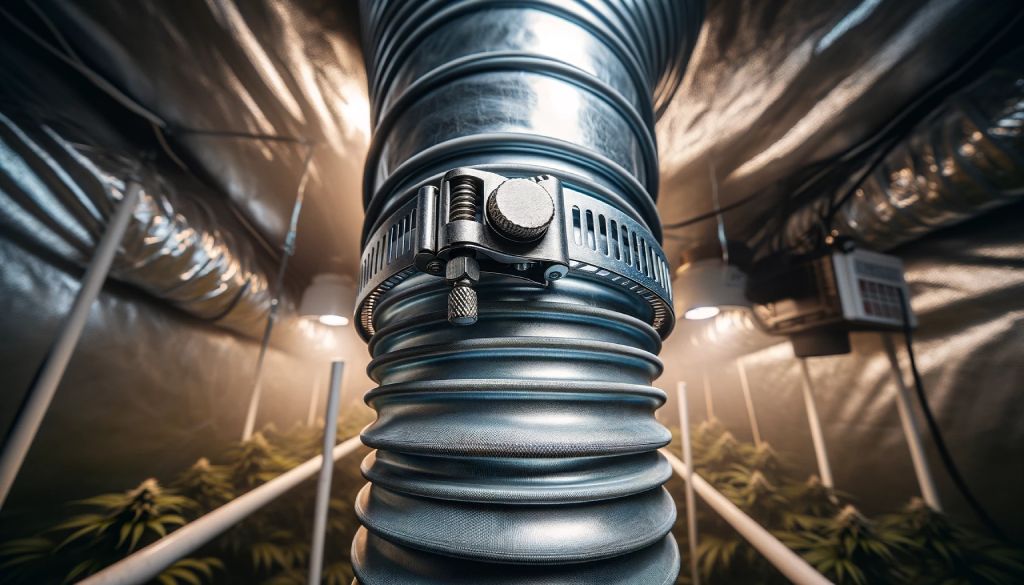
The last part of your filter and ventilation system is the exhaust hose. This hose is attached with a hose clamp, so it's important to choose parts that all have the same dimensions. If you have a ventilation system with a 10 cm diameter, then choose a hose clamp and exhaust hose with a 10 cm diameter. Attaching the exhaust hose to the fan goes as follows:
- Slide the hose clamp over the exhaust hose beforehand.
- Slide the hose onto the ventilation.
- Tighten the hose clamp until it's securely attached.
- Optional: add an additional layer of duct tape over the connection.
Some grow tents have a double closure at the port housing, meaning you can seal the opening from both the inside and outside.

Growth Light
Let there be light! We're almost at the end of the tunnel. Lighting can be attached in various ways. We recommend using pulleys, allowing you to easily adjust the distance between the plant and the lamp throughout your growth cycle. Most grow lights are hung on both sides. Check carefully, using a level for instance, that your lights aren't tilted. Keep in mind that LED lights also emit heat, and the frame can get quite hot as well. So, ensure that nothing comes into contact with the lights, including yourself when working in the tent.
LED lights in an enclosure that have been on for a while can reach temperatures of 40-50 degrees Celsius.
Power Supply
We recommend starting the wiring only after all the previously mentioned components are attached. Depending on your grow tent, you can choose to route the cables from the top or bottom of the grow tent. Try to bundle and neatly conceal the cables so that neither you nor your plant will be bothered by them later on.
Frequently Asked Questions About Assembling Grow Tents
- What should be the temperature in my grow space? The optimal temperature for a grow space is between 20-25 degrees Celsius. During the dark phase, it can be slightly cooler. Sativa strains prefer a few degrees warmer compared to indicas.
- How high should the LED light be above the cannabis plant? Place an LED grow light 30-45 cm above the top of the cannabis plants, depending on the light's intensity and the plant's growth stage.
- Why use a fan in the grow tent? A fan ensures air circulation, helps regulate temperature, prevents humidity problems, and strengthens the plant fibers through constant airflow.